Setup instructions
1
Open Pixels
Go to TikTok Business Center and navigate to Assets >> Pixels.
2
Add or select a pixel
Choose Add a pixel to create a new pixel, or continue to step 4 below to select an existing pixel.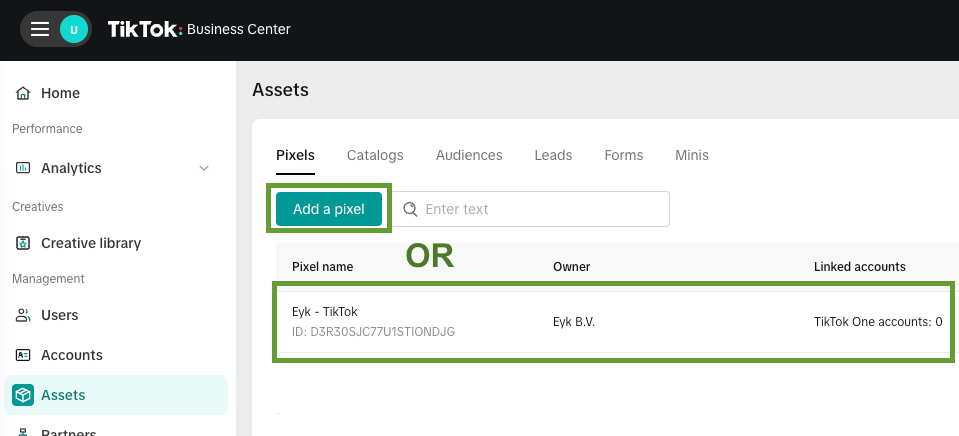
3
Create a new pixel
If you selected Add a pixel, complete the flow with the following steps: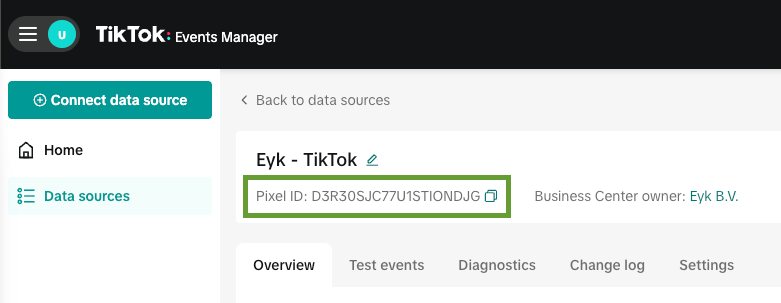
- Select Manual setup
- Select TikTok Pixel + Events API
- Create pixel: give your pixel a name, like
Eyk - Pixel - Install base code: click Next
- Manage configurations: select Enable Automatic Advanced Matching (AAM) and select Allow automatic event setup, leave the other toggles enabled. Then click Next
- Set up events: click Next
- Verify pixel setup: click Next
- Set up business funnel: in the Choose a template drop-down, select E-commerce. Then click Next
- Implement Events API: click Generate access token, and copy the access token for later use in Eyk. Then click Next
- Verify eAPI setup: click Finish
- On the next screen, copy the Pixel ID for later use in Eyk
4
Or use an existing pixel
[SKIP this step if you created a new pixel] To select an existing pixel:
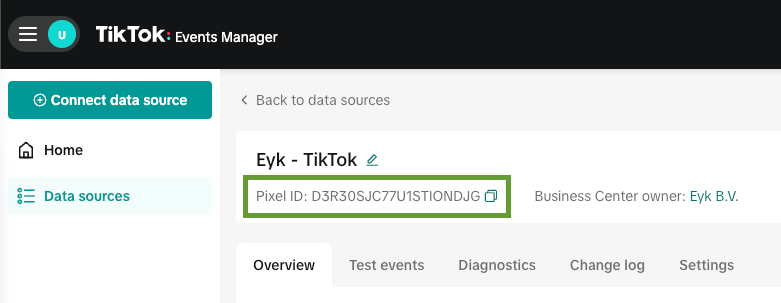
- Click on the pixel in the list, then click on Open in Events Manager
-
Copy the Pixel ID for later use in Eyk
- Navigate to the Settings tab, then scroll down to Data connection
-
Find the Events API section and click on Generate access token. Copy the access token for later use in Eyk
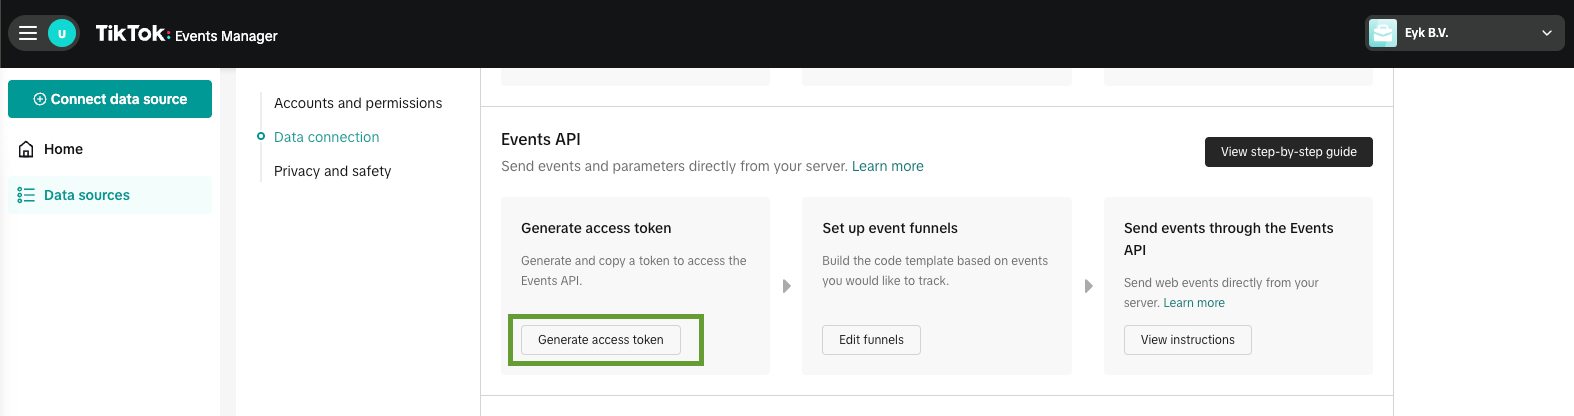
- Scroll down to Privacy and safety and ensure Enable Automatic Advanced Matching (AAM) and select Allow automatic event setup are toggled ON
5
Add the destination in Eyk
In your Eyk environment, go to Tracking and click the + Add destination button.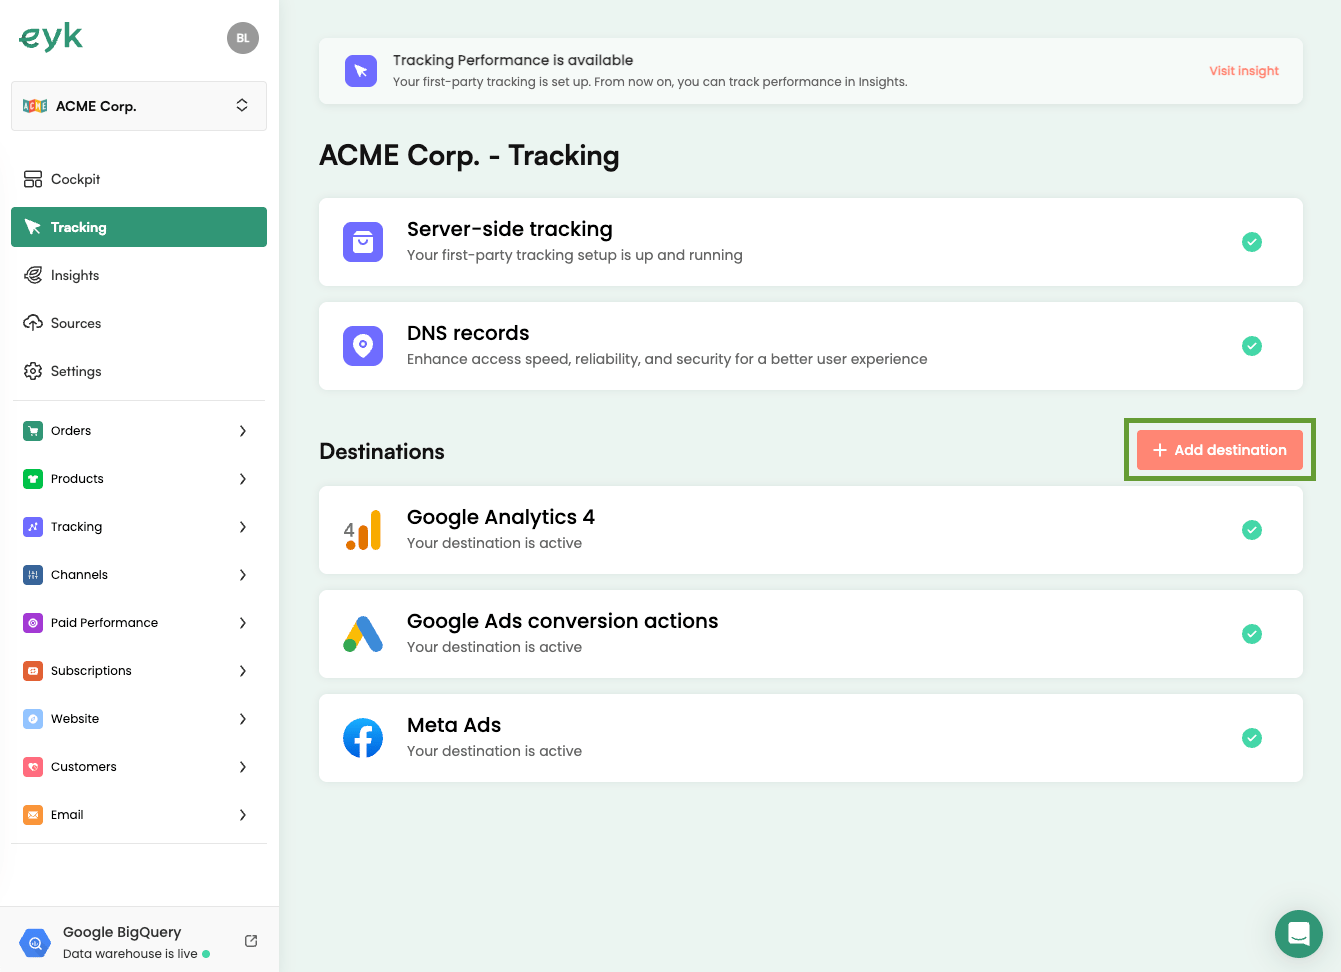
6
Select TikTok Ads
Select TikTok Ads from the list of destinations.
7
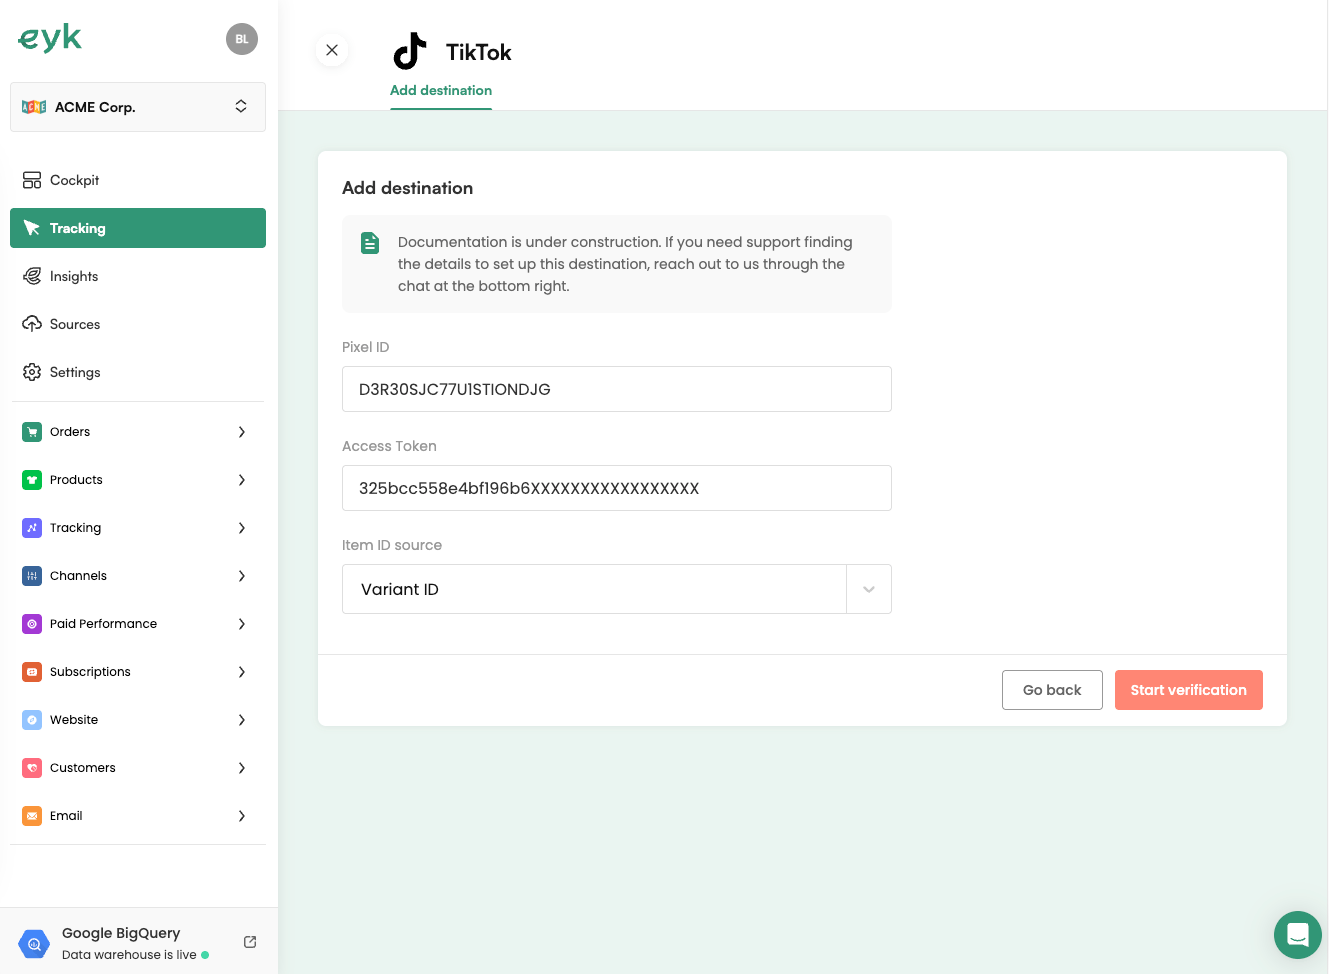
Enter the Pixel ID and Access token
Enter the Pixel ID and Access token collected in the previous steps.
8
Select an Item ID source
Select an Item ID source to determine what product identified should be reported to TikTok. If you have an active product feed to TikTok, make sure this matches the identifier type used there.
9
Start verification
Then click Start verification.